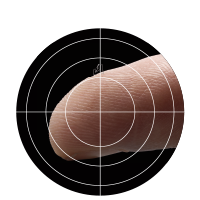
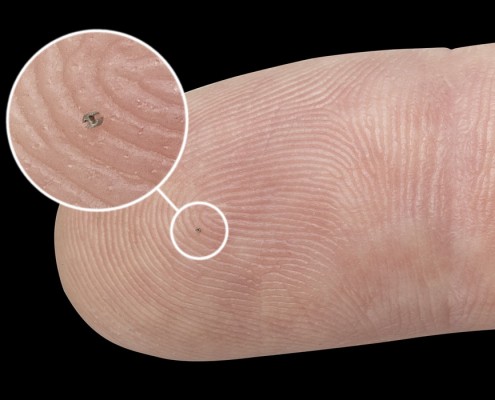
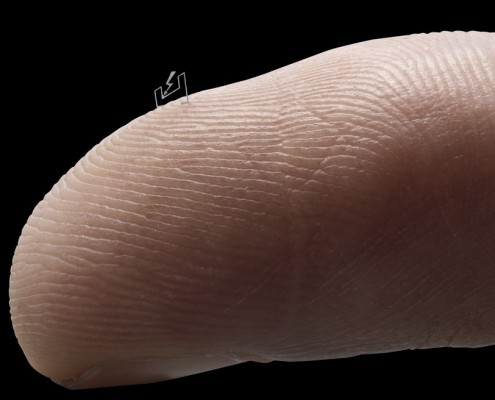
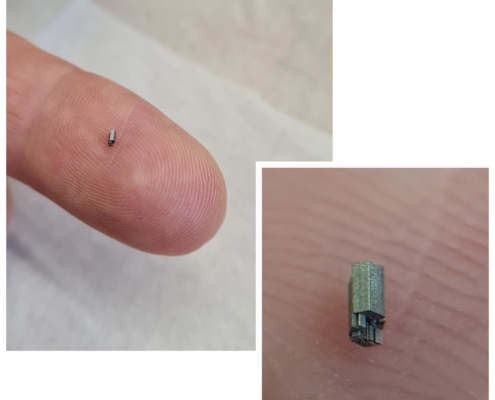
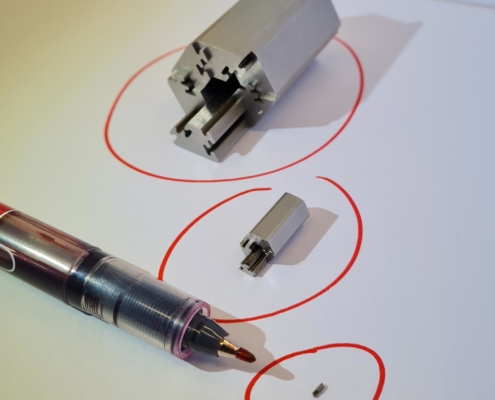
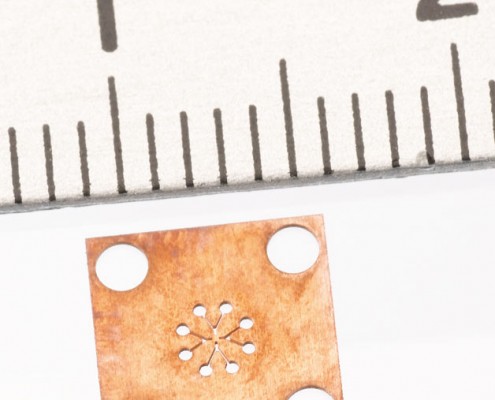
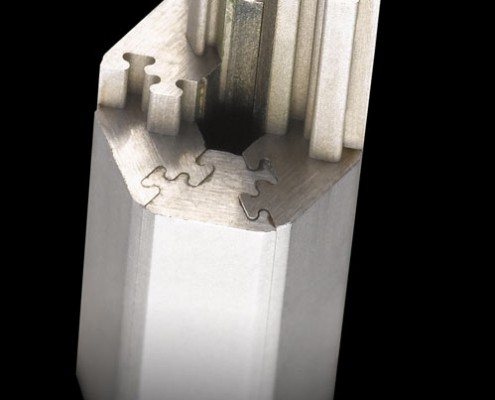
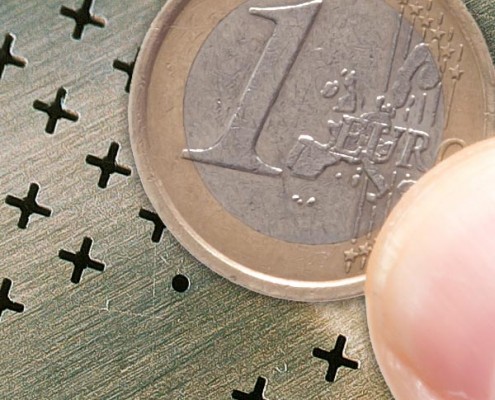
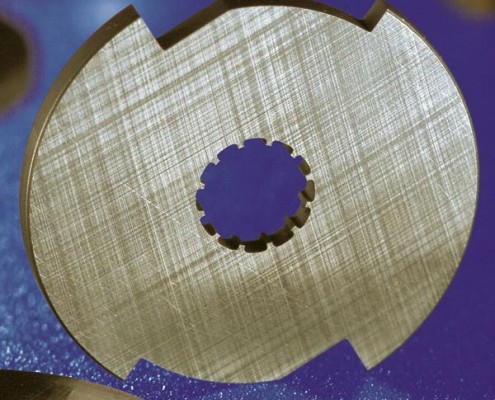
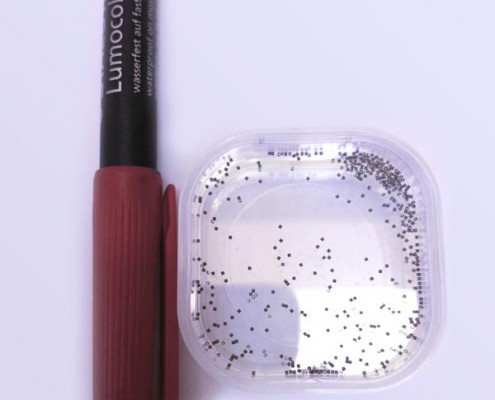
Use of wire of Ø0.07, Ø0.05, Ø0.03, Ø0.02 (20 μm). Some components weigh less than 0.001 gr.
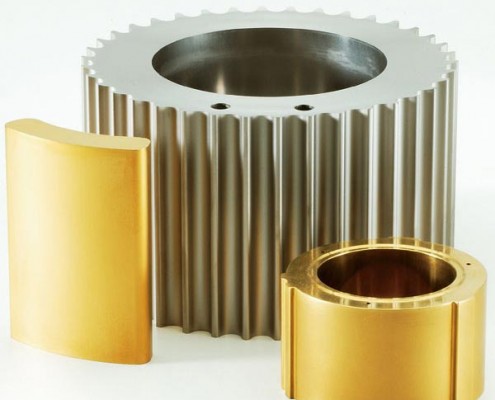
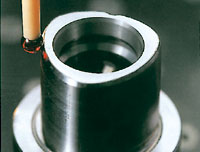
Ra 0.15 mini and Ra 0.02 after polishing (plan overthickness of 2.5 μm). Day-to-day production of control gauge at ±0.003. Hole calibration at ± 0.002.
Most of machined parts are customer parts that have already been finely worked, so we are not allowed to make a mistake!
Some series require the use of wire cutting machines 24 hours a day for 4 months.
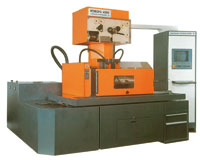
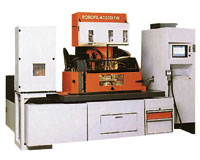
5 wire cutting Charmilles Technology GF machines.
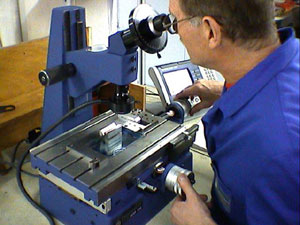
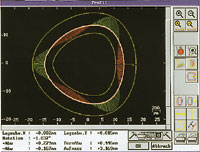
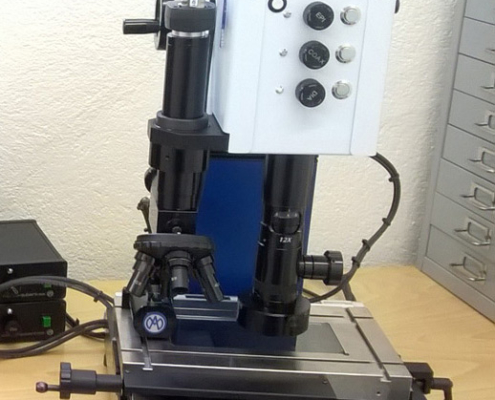
The company has several types of quality control by mechanical probing (3D Zeiss, conventional means of control) and has a lot of optical means (Marcel Aubert, camera, microscope on machine…).


